
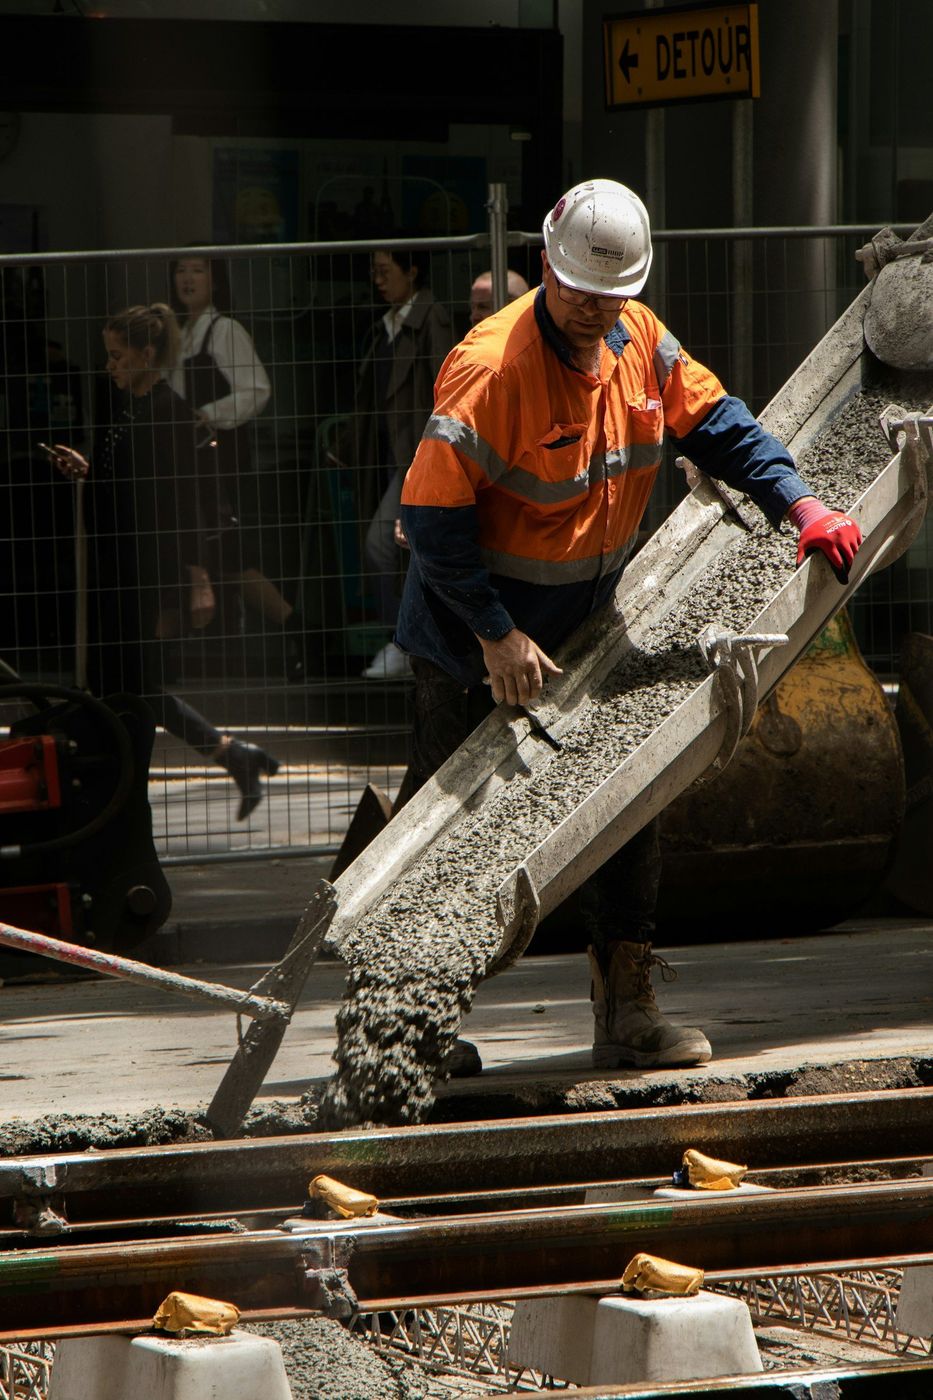
A pond gets built twice: floor one day, walls the next, and the seam between them is where every leak in this trade begins.
Almost every concrete pond is two pours, not one. The floor goes down first so the crew has a working platform and a place to set the wall forms. Then the walls come up against it, usually a day or several days later. That means there's a horizontal seam running around the base of every wall, buried, permanent, and completely unreachable by the time there's water in the thing.
Get that seam right and the pond holds water for decades. Get it wrong and you'll be draining it, chasing stains, and guessing. So the pour-day sequence on a water feature is less about placing concrete than about the handful of details that stop being fixable the second the truck pulls away.
Before any concrete, the hole gets shaped and the subgrade compacted so the floor bears evenly across its whole area. Soft corners are the enemy. A floor supported unevenly finds a way to crack, and a crack in the bottom of a vessel is not a cosmetic problem. How much work that takes depends on where you live. On the rockier ground toward Ken Caryl a floor often bears on material that will never move. Out on the flats around Columbine and Southbridge we spend real time on compaction before anybody talks about concrete.
Then the steel goes in. Bar mat in both directions, chaired up off the ground so it sits inside the concrete rather than on the dirt, with vertical bars left standing at the perimeter, tall enough to lap into the walls later. Those verticals are the reason the finished shell behaves as one structure and not as a floor with a wall balanced on it.
The waterstop gets set last, right where the wall will land. It's either a swelling strip or a formed profile, and it sits in the middle of the joint so any water trying to travel through that seam runs into a barrier instead of a gap. It takes ten minutes to install and it prevents the single most common pond failure we're ever called out to fix.
Wall pours are placed in lifts and vibrated as they go, because a wall with a honeycombed pocket in it is a wall with a hole in it. Nobody sees that pocket until the pond is full. We also set every penetration before placing: skimmer, bottom drain, return, waterfall feed, light conduit. Each sleeve gets sealed at the concrete rather than caulked from the inside two months later.
The joint at the base gets prepped before the first wheelbarrow arrives. Laitance cleaned off the top of the floor slab, the surface roughened and dampened, and the waterstop checked one more time. A wall placed onto a dusty, dry floor bonds to dust.
Then the crew stays on it. Finishing a wall means stripping forms at the right moment, patching any tie holes properly, and getting water on the concrete fast. Which brings us to the part homeowners least expect to matter.
| Floor pour | Wall pour | |
|---|---|---|
| What holds the shape | Compacted subgrade and perimeter forms | Two-sided forms, braced against the pressure of wet concrete |
| Steel | Mat in both directions, verticals left standing for the lap | Verticals tied to horizontals, continuous around every corner |
| The critical detail | Waterstop set where the wall will land | Clean, roughened, damp joint before the first concrete |
| Placing | One continuous pass, screeded and floated | Lifts, vibrated, penetrations already sleeved and set |
| Cure | Wet immediately and kept wet | Forms stripped, then wet cure for the balance of the week |
| What cannot be changed later | The elevation of the floor and where it drains | Every pipe through the wall and the shape of the coping edge |
We'll walk the site, lay out the pours and the plumbing, and give you a build sequence before anybody starts digging.
Still unsure about something?
Call the crew at (303) 569-4046 and we will talk it through.

Get a free, no-obligation estimate from a crew that knows Colorado soil, Colorado weather, and how to finish concrete that lasts.
Accessibility
Adjust the site to fit how you read and browse. Your choices are saved on this device.