
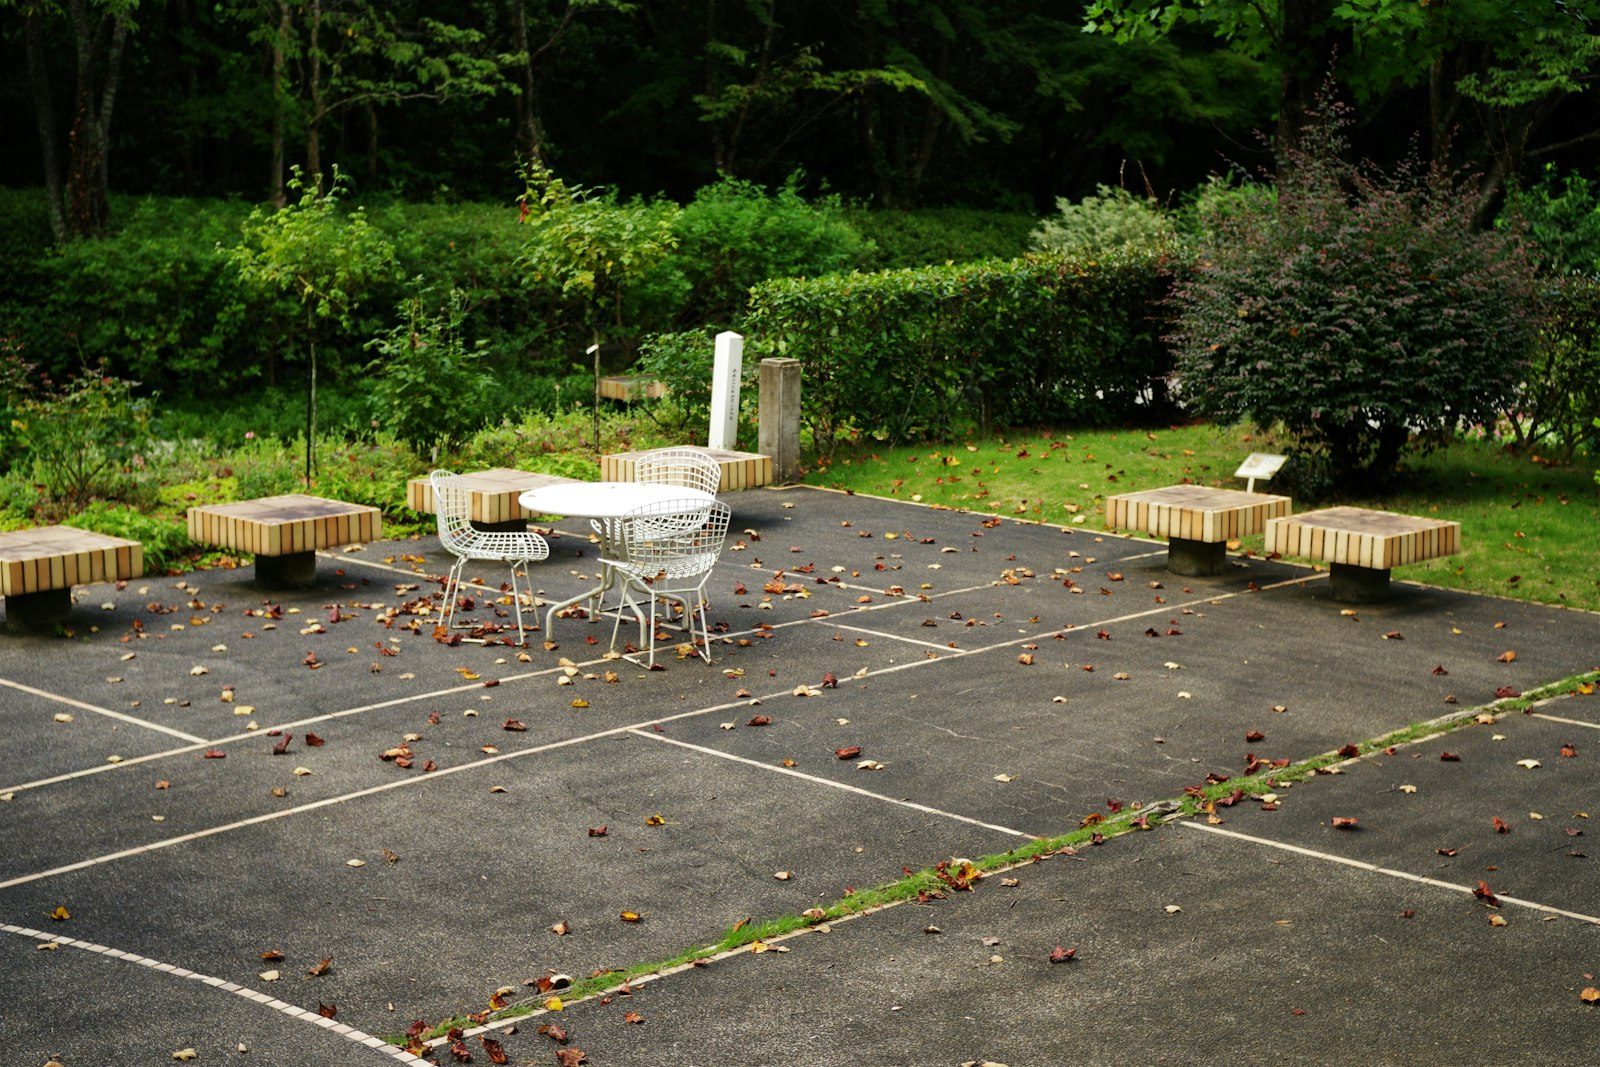
The footing nobody sees is the reason the stone veneer stays where the mason put it.
A failing outdoor kitchen announces itself from across the yard. The tell is a stair-step crack running up through the stone veneer, following the mortar joints, wider at the top than the bottom. Next to it you'll see a countertop that has gone slightly out of true, so the grill lid drifts open. Down at the bottom, a dark line where the island has pulled away from the patio and left a gap you can slide a pencil into.
None of that is a masonry problem. The mason built what was in front of him. Every one of those symptoms comes from the concrete underneath, or from the absence of it, and by the time they show up on the outside the movement has been going on for a while. We build the part that prevents all of it, which is unglamorous work and the only work that decides whether this thing looks good in a decade.
Read the crack direction. Stair-step cracking through mortar joints on one end of an island means differential movement: one part of the base is going somewhere the rest isn't. A single vertical split near a corner means the island is being pried by something rigid, often a countertop bearing on two supports that no longer sit at the same elevation. Gaps at the toe kick mean the patio under the island has settled while the island itself, if it's on a real footing, stayed put.
The nastier version is the reverse. Island on a footing, patio moving, and the counter overhang levering against the slab edge until something spalls. And if the appliances have started to bind, if a drawer won't close square or a door hangs proud, that's a frame that has racked. Frames don't rack on their own. They rack because the thing under them moved.
| Cladding | How forgiving it is of movement | What has to be under it |
|---|---|---|
| Full-thickness stacked stone | Least forgiving. Rigid, heavy, and it telegraphs every hairline | Continuous footing below frost, tied to the island slab, no compromises |
| Thin stone or brick veneer | Slightly better, though mortar joints still crack in a line | Footing under the masonry runs, with the slab thickened where the wall lands |
| Stucco over block | Moderate. Cracks show as fine lines rather than open joints | Footing under block walls, since block plus stucco is real weight |
| Tile on a framed island | Poor tolerance in the tile, better in the frame | Thickened slab edge at minimum, footing if the run is long or the lot slopes |
We'll figure out whether the island moved, the patio moved, or both, then tell you what it takes to stop it.
Solterra and the newer neighborhoods generate the most new builds, usually on a patio that's already there, which is where the hard conversation starts. A patio poured for furniture is not a foundation for a masonry island. Sometimes we can cut an opening, dig footings through it, and pour back. Sometimes the slab is too thin or too far gone for that to make sense. Applewood and the mid-century flats around Belmar give us more room, and the constraint there is reaching the back of the property without wrecking mature landscaping.
On the Green Mountain side, grade drives the design. An island near the downhill edge of a terraced yard may need footings stepped or deepened, and our engineer gets involved when the base doubles as a retaining element. Season is simple: dig and pour anytime the ground isn't frozen, which here means most of the year with cold-weather protection in the shoulder months. Start in spring if you want it cooking by mid-season, since concrete is the first trade and everyone else queues behind it.
People pick the countertop material before anybody looks at what's holding it up. We show up, run a level across the patio, and find three quarters of an inch of fall over eight feet. Fine for a table and chairs. Under a stone island that's the crack you'll be staring at in year two.
Our crew lead, after the walkthrough
Still unsure about something?
Call the crew at (303) 569-4046 and we will talk it through.
Get a free, no-obligation estimate from a crew that knows Colorado soil, Colorado weather, and how to finish concrete that lasts.
Accessibility
Adjust the site to fit how you read and browse. Your choices are saved on this device.