
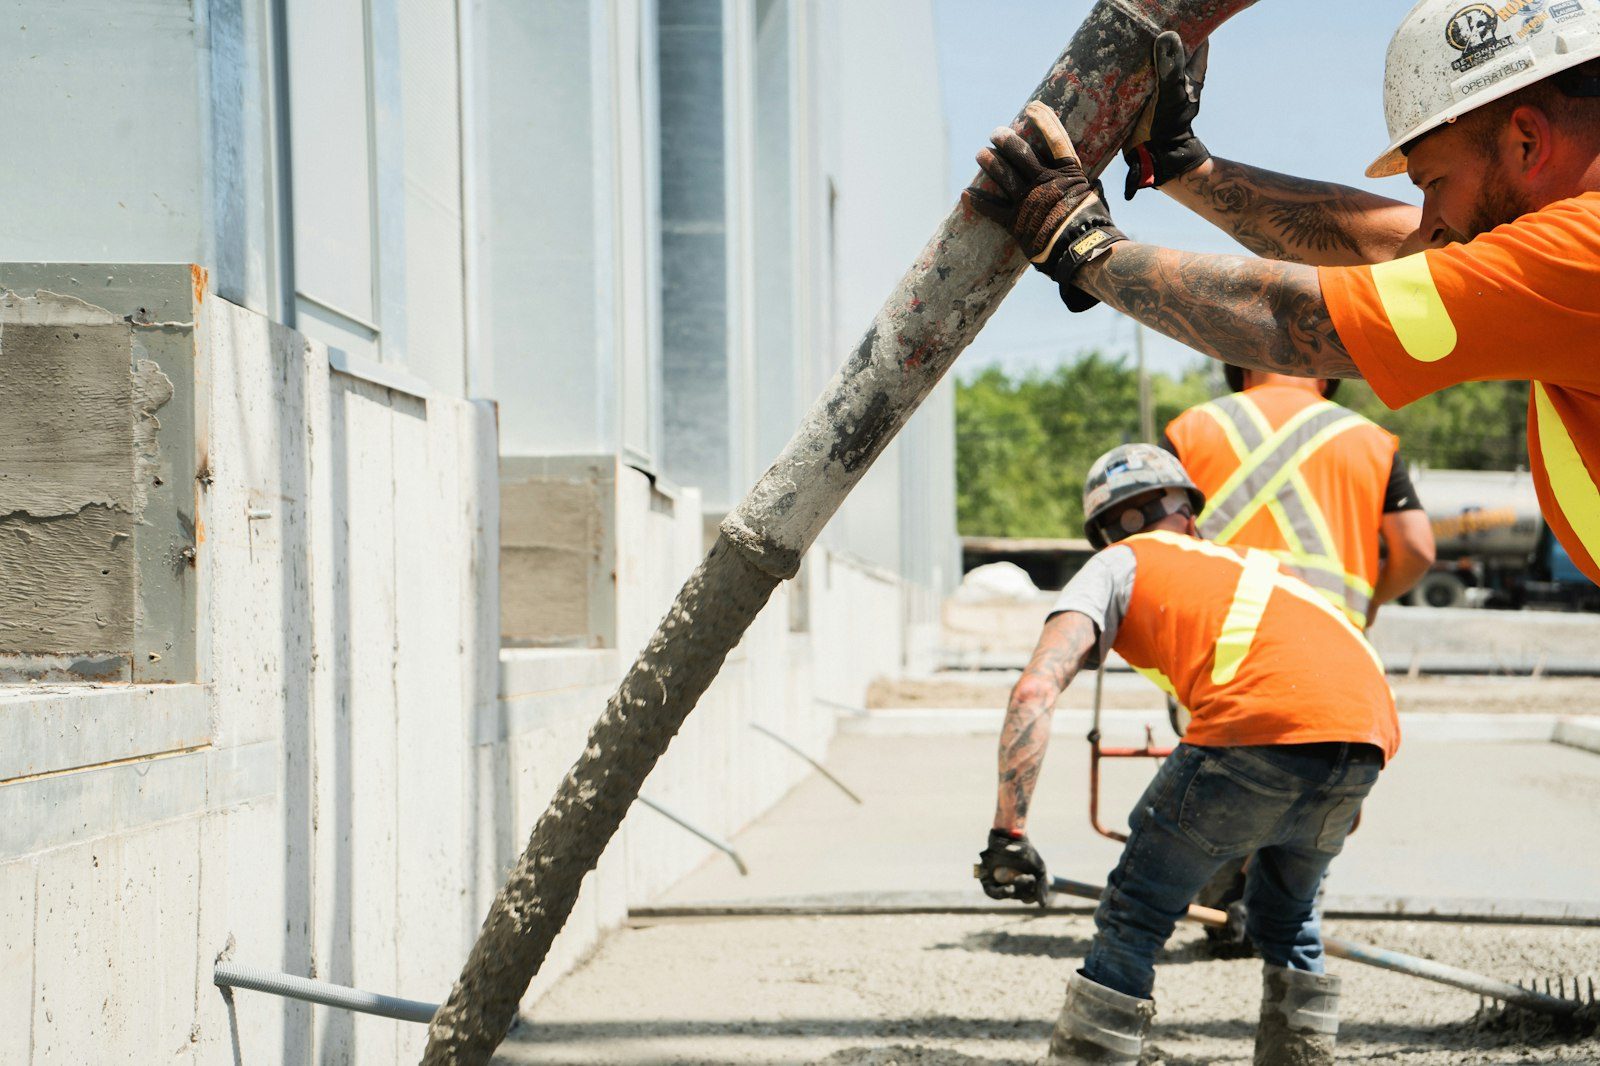
Most of these jobs start the same way. The old shed is coming down, and the base it sat on is going with it.
The shed in your back corner is probably not the original one. On an established lot the sequence usually runs like this: builder puts the house in, a homeowner adds a wooden shed a few years later on timber skids or a thin unreinforced pad, that building rots along the bottom plate after twenty-five winters, and somebody hauls it off. Now you are standing in the same corner with a new steel or vinyl kit on order, looking at a cracked rectangle of old concrete, wondering if it can stay.
We get that call a lot. Walnut Hills and Foxridge lots have the depth for a real workshop out back, while plenty of Willow Creek yards fit a compact storage building along the fence line and not much else. Different sizes, same question: what does the ground under the new building actually need?
Almost every first-generation pad has the same three problems. Poured thin, often three inches or less, because somebody was buying concrete by the bag. No reinforcement in it. And it sits on stripped sod with no aggregate underneath, resting on soil that changes volume with the seasons.
Sometimes it survived anyway. We do occasionally find an old pad that is flat, uncracked, and still bearing, and when the new building matches the footprint we tell you to keep it and save the money. That is not the common outcome. Usually the slab has cracked into two or three pieces with a corner tipped into a low spot, and it has grown a lip that will hold water against the new building's bottom rail from day one.
Very few back corners are flat. These yards got graded to push water away from the house, so the far end of the lot is usually the low end, and that is exactly where people put the shed. One choice comes before all the others: cut into the high side, or fill the low side.
We cut, almost always. Ground nobody has disturbed makes an excellent bearing surface, and digging into the slope gets us onto it. Fill is the opposite, loose material that has to go in thin lifts and be compacted properly to be worth anything, and even done right it never matches native ground. Where a lot forces us to build up, we use aggregate in controlled layers rather than the spoil we just dug, and we run the slab edge past the wall line so the fill is not carrying the building. Then the uphill water: a shallow swale above the pad keeps sheet flow from arriving at your door during a storm.
| What the building holds | What that demands | How we change the pad |
|---|---|---|
| Garden tools, hose reels, patio furniture | Very little. Foot traffic and a flat dry floor | Standard four inch slab, thickened edge, mesh, broom finish |
| Riding mower, snowblower, fuel cans | Wheel loads crossing the threshold all season | Wider apron, extra thickness in the door strip, rougher broom for wet tires |
| Workbench, tools, a finished interior | Flatness, and a floor that will not dust underfoot | Tighter screeding tolerance, steel troweled inside, vapor barrier under the slab |
| Heated space, plumbing, or a studio | The building can no longer float with the seasons | Frost depth footings under the perimeter instead of a thickened edge |
| Small tractor or a heavy trailer | Point loads a light slab cracks under | Five to six inches, rebar on a grid, deeper base |
Send the model number and the door layout. We'll size the slab, the apron, and the anchor bolt pattern off the real drawings instead of guessing.
Order of operations saves people money. Pour the pad first, then take delivery of the building, never the reverse. A shed sitting on pallets in your driveway is a shed getting hailed on, and no delivery crew will set a kit on green concrete. Give us the drawings before pour day and the anchor bolts go into wet concrete right where the wall plates land, which holds far better than anything drilled in later.
April through October all works, with the shoulder months best. Small pads are quick, so they slot between larger jobs and lead times stay short. Late fall is fine until the ground starts freezing overnight. Winter pads happen with warmed water, accelerators, and blankets, though frozen subgrade is a hard no no matter how badly you want the shed up before Christmas. Give the slab a week before the building goes on, and a month before a loaded trailer crosses it.
Still unsure about something?
Call the crew at (303) 569-4046 and we will talk it through.
Get a free, no-obligation estimate from a crew that knows Colorado soil, Colorado weather, and how to finish concrete that lasts.
Accessibility
Adjust the site to fit how you read and browse. Your choices are saved on this device.