
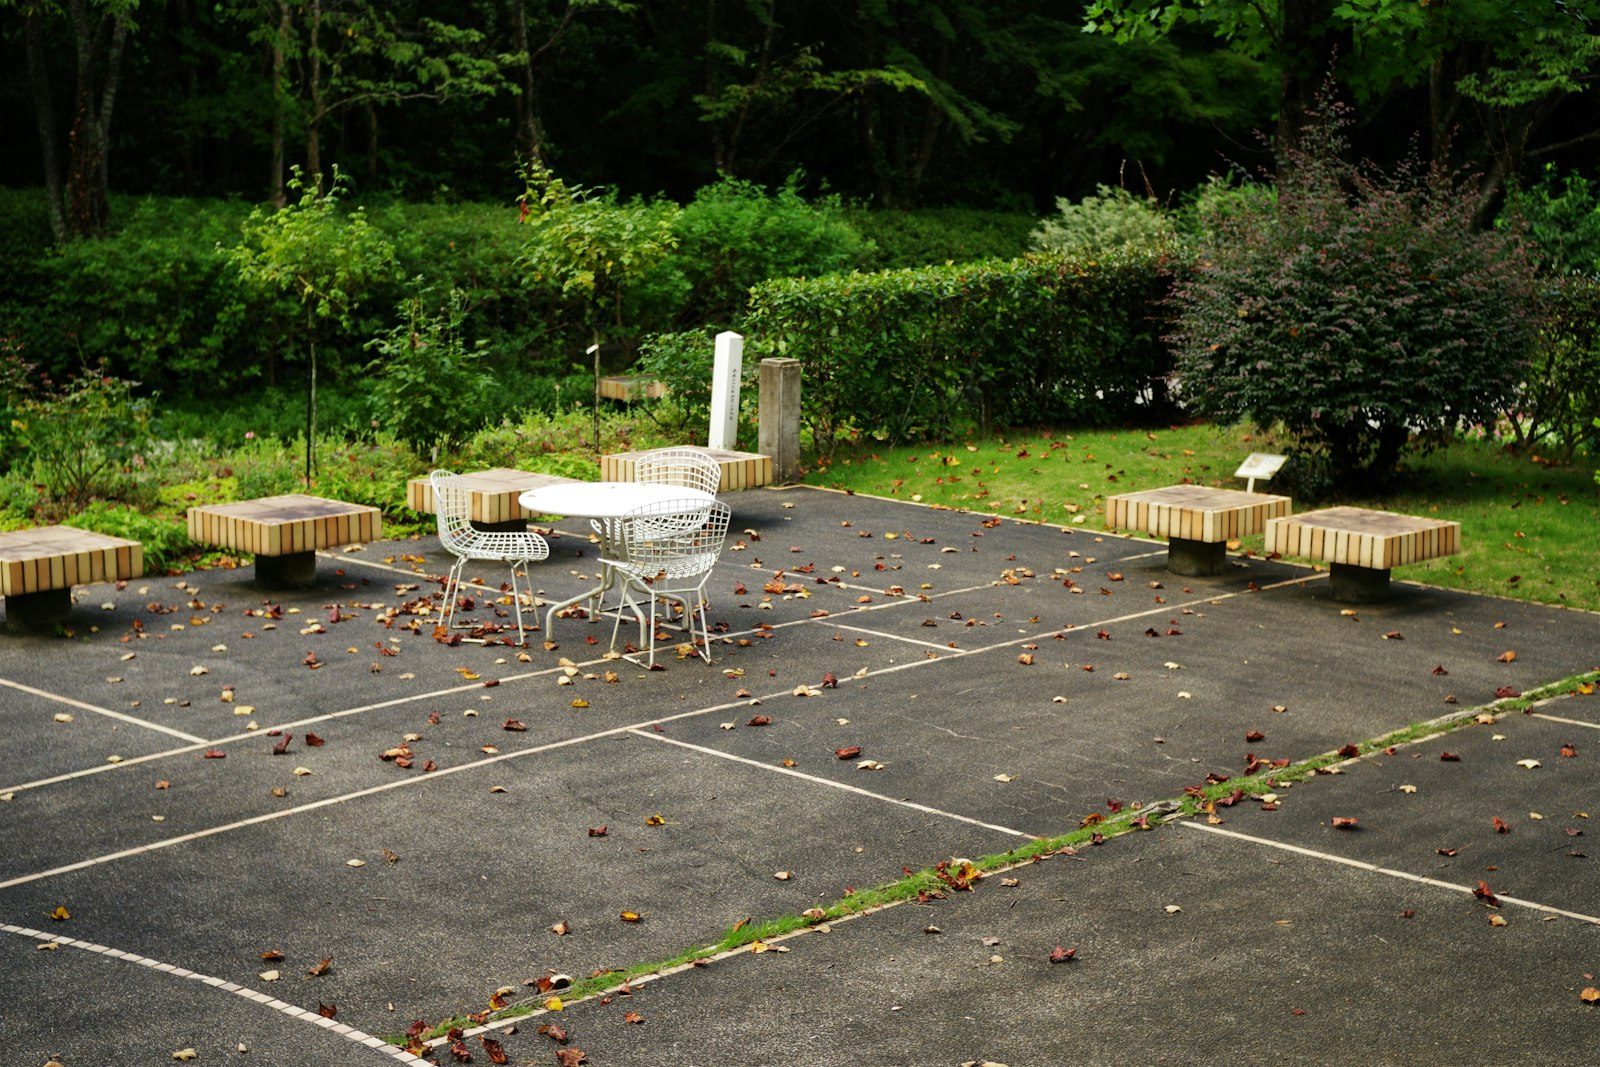
Footings and slab under the grill island, sized for masonry weight before anybody picks a countertop.
Nobody photographs the part we build. The magazine shot is the stone veneer, the burner, the slab of granite with a bowl of limes on it. Underneath all of that is a footing and a slab, and that hidden work is what decides whether the island still looks like the photo in year eight or has a stair-step crack running through the veneer.
We build these bases across Castlewood Ranch, Sapphire Pointe, and The Meadows, usually for people who already have a patio and want to add an outdoor kitchen at one end. The value conversation is worth having up front, because the money you spend down low is invisible and the money you spend up top is the whole point of the project. Getting that split right is most of the job.
A block-and-veneer island is a small building. Course of block, mortar, stone facing, a stone or concrete counter across the top, and appliances hung in the openings. Add it up and you have a narrow, very heavy strip sitting on one line of your patio. A four-inch patio slab does not carry that. It carries it for a while, which is the dangerous part, and then it settles unevenly along the load line and the mortar joints in your veneer start telling on it.
So we go down. Footings under any masonry island, taken below the frost line and bearing on undisturbed soil, tied to a thickened slab edge where the block will land. If the island is going on a patio we're pouring anyway, this is a small addition to a bigger pour and it barely registers on the estimate. If we're retrofitting into an existing patio, we saw out a strip, dig, pour footings, and knit the new work into the old.
Lightweight framed islands, the ones built out of steel studs and cement board, are a different animal. They can often sit directly on a sound slab. We'll tell you which category yours falls into once you show us the design.
| Cost driver | Why it matters | How to keep it in check |
|---|---|---|
| Footing depth and length | Every linear foot of masonry needs bearing below frost, and that's excavation | Keep the island compact and straight rather than sprawling |
| Island shape | An L or a U roughly doubles the forming compared with a straight run | A straight run with one bump-out gets most of the look |
| Appliance cutouts and chases | Each unit needs a planned opening and a path for its utility | Lock in appliance models before we build forms, not after |
| Utility runs under the slab | Gas, water, drain, and power all want to cross the same ground | Do one trench, sleeve everything, including lines for later |
| Distance from the truck | Wheelbarrow versus pump is a real difference in labor hours | Clear a gate or side yard access before pour day |
| Finish on the surrounding patio | Broom is baseline; stamped or exposed aggregate costs more per foot | Spend the finish budget on the seating side, keep the working side simple |
We'll price both and lay them out on the same drawing so you can see what each one actually gives you.
An outdoor kitchen sits out in everything Castle Rock has. Hail dents appliance lids. High-altitude sun bleaches sealer off a concrete counter faster than it would at sea level. Winter deicing salt tracked from the driveway onto a patio chews at surfaces that were never sealed. We build with that in mind: air-entrained mix, generous joint spacing worked around the island rather than through it, and a hard recommendation to reseal any decorative surface every two to three years.
Drainage gets designed, not hoped for. The patio slopes away from the house and away from the island footprint, because water pooling at the base of stone veneer in November will find its way into the mortar and freeze there. That's how veneer starts popping off.
For scheduling, we like doing base and footing work in spring so the kitchen is finished by grilling season, and we like doing it in fall when the calendar is easier and the concrete cures in perfect weather. Winter footings are possible; the excavation is harder, and the bearing soil under a footing cannot be frozen. If the whole project runs into December, we'll often pour the base and let the masonry wait until spring. Concrete doesn't mind sitting through a winter. Half-finished stonework does.
Still unsure about something?
Call the crew at (303) 569-4046 and we will talk it through.
Get a free, no-obligation estimate from a crew that knows Colorado soil, Colorado weather, and how to finish concrete that lasts.
Accessibility
Adjust the site to fit how you read and browse. Your choices are saved on this device.